Master the six-phase incident response lifecycle, evidence preservation techniques, and how to coordinate an effective response to a security incident.
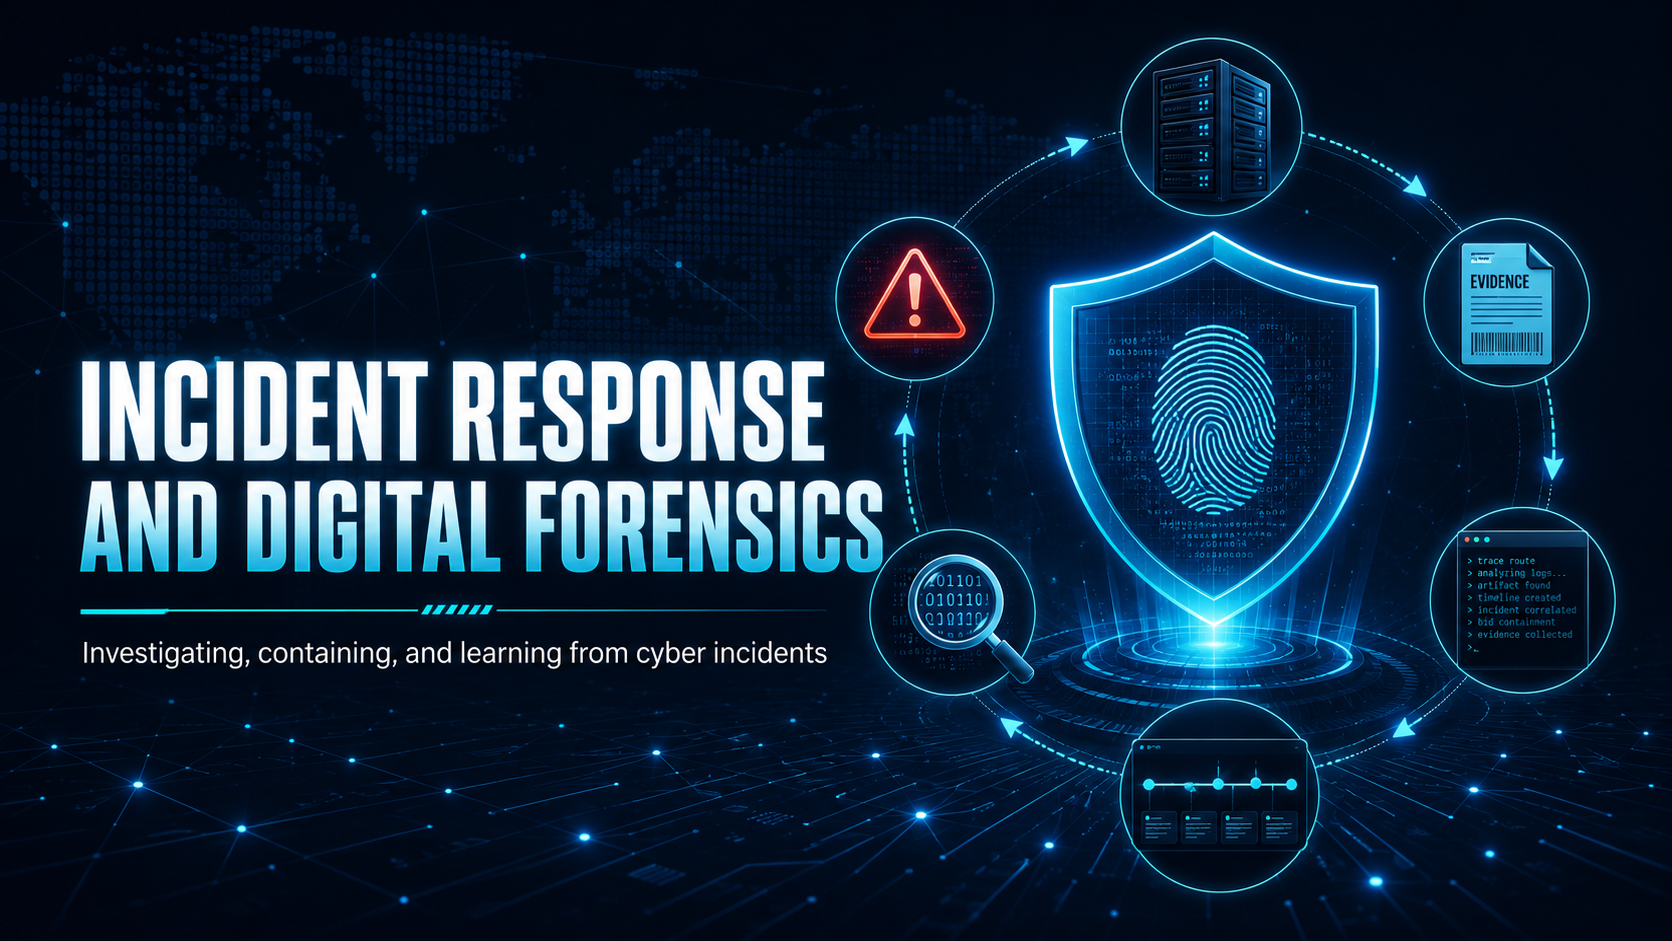
Incident Response and Digital Forensics
When a security incident occurs, the way your organisation responds in the first hours determines whether it becomes a minor event or a catastrophic breach. Understanding the incident response process helps you play your part effectively.
The NIST Incident Response Lifecycle
Digital Forensics Principles
Forensics is the collection, preservation, and analysis of digital evidence after a security incident. The golden rule of forensics is: do not alter the evidence.
⛔ Important
Do not reboot, reinstall, or “clean up” a compromised system. Well-meaning IT staff have destroyed critical forensic evidence by reimaging systems before investigators could examine them. Memory-resident malware, log files, and network connections are all lost on reboot. If a system is suspected of compromise, contact your IR team before doing anything to it.
Evidence Preservation — Order of Volatility
Evidence should be collected in order from most to least volatile (most volatile disappears first):
| Evidence Type | Volatility | Captured How |
|---|---|---|
| CPU registers / running processes | Extremely high — lost on reboot | Memory dump tool (live forensics) |
| Network connections | Very high — minutes | netstat, EDR snapshot |
| Running processes | High — can change rapidly | Process list capture |
| RAM contents | High — lost on shutdown | Full memory dump |
| Disk / file system | Low — persists after shutdown | Forensic disk image |
| Log files | Low — may be overwritten over time | Export and preserve |
Attack Timelines: Dwell Time
✓ Key Point
The average attacker dwell time (time between initial compromise and detection) globally is measured in days. During this window, attackers establish persistence, escalate privileges, conduct reconnaissance, exfiltrate data, and position for ransomware deployment. The faster an incident is detected and reported, the less time the attacker has.
This is why your immediate report of anything suspicious is so valuable — you may catch an attack in its early stages before major damage is done.
Communication During an Incident
- Do not discuss the incident on potentially compromised systems — if email is compromised, use phone or an out-of-band channel
- Do not post on social media — premature disclosure can tip off the attacker and create legal issues
- Follow your organisation’s communication plan — your IR team will manage notifications to regulators, customers, and the media
- Document everything — keep notes of what you observed, when, and what actions you took
Could your business respond to a breach today?
The first hours of an incident decide whether it’s a bad day or a business-ending event. Mobile Techs IT Service gets Gold Coast businesses incident-ready — response plans and playbooks, tested clean backups you can actually restore from, monitoring that detects trouble early, and rapid hands-on response when something goes wrong. Home users welcome too — on-site or remote, anywhere in Australia.
Get an incident response plan → or call 1300 644 588